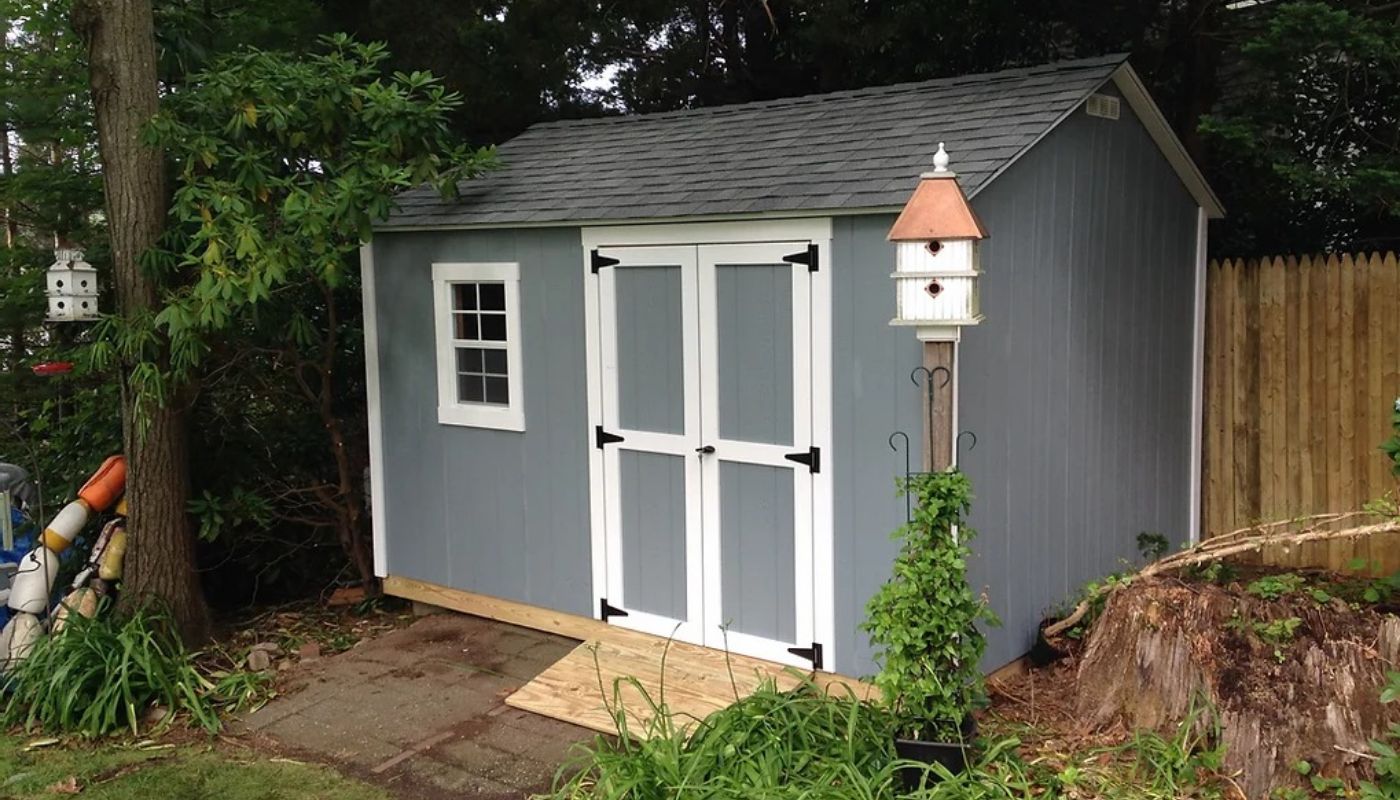
Rhode Island’s winters can be harsh, with unpredictable snowstorms, freezing temperatures, and high winds. While many homeowners prepare their homes for the cold weather, it’s equally important to winter-proof your shed to ensure it remains functional and protected from the elements. Whether your shed is used for storing gardening tools, serving as a workshop, or simply housing seasonal items, taking steps to winterize it can extend its lifespan, prevent costly damage, and ensure that it’s ready to use when you need it most.
Winter-proofing a shed in Rhode Island requires more than just a few quick fixes—it involves careful planning and attention to the unique challenges posed by cold weather. By following some key steps to prepare your shed for winter, you’ll be able to safeguard its contents, protect its structure, and ensure it remains a reliable storage space throughout the season. In this blog post, we’ll explore three essential tips for winter-proofing your Rhode Island shed, focusing on proper insulation, ventilation, and protection against moisture. With these strategies in place, you can enjoy peace of mind throughout the winter months, knowing that your shed is well-prepared to face the cold.
1. Insulate Your Shed to Keep the Cold at Bay
The first step in winter-proofing your shed is ensuring it’s properly insulated. Insulation helps maintain a more stable temperature inside your shed, preventing freezing temperatures from damaging sensitive items and equipment. For sheds that house items such as outdoor furniture, power tools, or electrical equipment, proper insulation can also protect these valuables from moisture buildup and freezing.

Why Insulation Matters
During Rhode Island’s cold winter months, temperatures can often drop well below freezing. For outdoor sheds, this means that any uninsulated structure is at risk of allowing frigid air to seep in, which can lead to frozen pipes, damaged tools, and other unwanted consequences. Furthermore, the interior of an uninsulated shed can experience temperature fluctuations that can harm sensitive items, such as gardening supplies or seasonal decorations.
Types of Insulation for Sheds
When it comes to insulating your shed, there are several options to consider, depending on your needs, budget, and the materials used to construct your shed. The most common types of insulation include:
- Fiberglass Batt Insulation: One of the most affordable and effective insulation options, fiberglass batt insulation is typically installed between the studs of your shed’s walls. This type of insulation is widely available and easy to install, making it a popular choice for homeowners looking to keep their sheds warm and dry. However, fiberglass insulation can be irritating to the skin and lungs, so proper precautions should be taken when handling it.
- Spray Foam Insulation: For a more efficient and air-tight insulation solution, spray foam insulation is an excellent choice. Spray foam expands when applied, filling every crack and gap, creating a highly effective barrier against heat loss. While more expensive than fiberglass batt insulation, spray foam can provide a better overall seal, which is particularly useful for preventing drafts and moisture infiltration. This makes it ideal for sheds located in areas that experience extreme cold.
- Reflective Foil Insulation: Reflective foil insulation is an ideal choice for sheds with limited space, as it is thin yet effective at reflecting heat. This insulation is typically installed on the interior walls and can help maintain a more stable internal temperature. Reflective foil is often used in combination with other types of insulation to improve efficiency and reduce heating costs.
- Rigid Foam Boards: If you need to insulate your shed’s foundation or roof, rigid foam boards can provide excellent protection against the cold. These boards are available in various thicknesses and can be used to insulate walls, floors, and ceilings, ensuring that every inch of your shed is adequately protected. Rigid foam is highly durable and resistant to moisture, making it a smart option for sheds in Rhode Island that may be exposed to snow and rain.
Installing Insulation
The installation of insulation will vary based on your shed’s construction and the type of insulation you choose. In most cases, insulation can be installed in the walls, ceiling, and floor to ensure comprehensive protection from the cold. It’s also important to insulate any windows and doors, as these can be common sources of heat loss. Consider using weather stripping around doors and windows to improve the seal and prevent drafts.
For sheds used as workshops or those containing sensitive equipment, adding a small heater can help maintain a consistent temperature, especially if the shed is unheated. However, keep in mind that insulation is not just about retaining heat; it’s also about keeping moisture out. Proper insulation prevents the formation of ice and frost that can cause damage to your shed’s contents, such as wooden furniture or garden tools.
2. Improve Ventilation to Prevent Moisture Buildup
Proper ventilation is another critical element of winter-proofing your shed. While insulation helps keep the cold out, ventilation helps regulate the moisture levels inside the shed. If your shed lacks proper airflow, the warm air generated inside can combine with the humidity from the outside, leading to condensation. This can create a damp environment, which is conducive to mold growth, rust, and the deterioration of wood and metal surfaces.
In Rhode Island, where winters are often accompanied by snow and ice, it’s essential to address moisture buildup to avoid costly repairs or damage to your shed and its contents.
Why Ventilation is Crucial
Moisture is one of the biggest threats to any shed during the winter months. If moisture is allowed to accumulate inside your shed, it can lead to a variety of issues, including:
- Wood Rot and Mold: High humidity levels can cause wooden structures and stored items to rot, especially when combined with freezing temperatures. Mold can also thrive in damp, warm conditions, compromising the structural integrity of your shed.
- Rusting Tools and Equipment: Metal tools and machinery can quickly rust if exposed to excess moisture. This can lead to a deterioration of their functionality and lifespan.
- Freezing Pipes: If your shed contains plumbing or water-related equipment, moisture can freeze, leading to broken pipes and the potential for water damage.
How to Improve Ventilation in Your Shed
There are several ways to improve ventilation in your shed to reduce the risk of moisture buildup:
- Install Vents: Adding vents to your shed is an affordable and effective way to improve airflow. Vents should be placed on opposite sides of the shed to create a cross-breeze that will allow air to flow through and carry moisture out. Ensure that the vents are screened to prevent insects and debris from entering.
- Use a Dehumidifier: If your shed is prone to high humidity, especially during the winter months when condensation is common, a dehumidifier can help regulate moisture levels. This is especially important for sheds that are insulated or used as workshops. A dehumidifier will remove excess moisture from the air, preventing mold, mildew, and rust.
- Keep Doors and Windows Open: If the weather allows, open the shed’s doors and windows occasionally to promote airflow. This is particularly important during dry, sunny days when the outside air is less humid. Even a few hours of ventilation can help reduce moisture buildup inside the shed.
- Install a Small Heater or Fan: If you use your shed as a workspace or for other activities during the winter, consider installing a small space heater or fan. This will help regulate the temperature inside the shed, making it less prone to condensation. Just be sure to choose energy-efficient options to avoid high electricity bills.

3. Protect Your Shed from Snow, Ice, and the Elements
Rhode Island’s winters often bring heavy snow and ice, which can cause significant damage to your shed if left unchecked. Ensuring that your shed is well-protected from the elements is an essential part of winter-proofing. Snow buildup on the roof or around the base of your shed can cause structural issues and even lead to the collapse of the structure.
Why Snow and Ice Protection is Necessary
Snow and ice can accumulate on your shed’s roof, creating several risks:
- Weight Load: Heavy snow can cause the roof of your shed to cave in, especially if the roof is flat or sloped too gently. This is a particular concern for sheds used for storage or workshops, as the added weight can damage equipment, tools, and the shed’s structure.
- Water Damage: When snow melts, it can seep into cracks and crevices, leading to water damage inside the shed. If not properly managed, this water can freeze again, creating ice dams that prevent drainage and cause further damage.
How to Protect Your Shed from Snow and Ice
- Roof Maintenance: Regularly check your shed’s roof for signs of damage, and make sure it’s designed to handle snow accumulation. Steep-pitched roofs are ideal for shedding snow, while flatter roofs may need to be cleared periodically. Using a roof rake to remove snow from the roof is an effective way to reduce the risk of excess weight and water damage. Always clear snow from areas around the roof edges to prevent ice dams from forming.
- Gutters and Drainage: Install gutters and downspouts to direct water away from the shed. This will help prevent snowmelt from pooling around the base and reduce the risk of water damage. Ensure that the drainage system is free of debris and functioning properly before winter sets in.
- Elevate the Shed: If your shed is sitting directly on the ground, consider raising it on concrete blocks or a proper foundation. This will protect the shed’s base from the effects of snow and ice buildup. Elevation allows for better water runoff and prevents water from seeping into the structure.
- Snow and Ice Barriers: For extra protection, you can install a snow and ice barrier around the base of your shed. This can help prevent snow from accumulating around the walls, reducing the risk of water damage and foundation issues.

Conclusion
Winter-proofing your Rhode Island shed is essential to maintaining its longevity and functionality during the harsh winter months. By insulating your shed, improving ventilation, and protecting it from snow and ice, you can ensure that it remains in excellent condition throughout the season. Whether you use your shed for storage, as a workshop, or for other purposes, these simple yet effective winterization tips will help you avoid costly repairs and keep your shed ready for use when you need it most. By taking the time to winter-proof your shed, you can enjoy peace of mind and make the most of your outdoor space, no matter the weather.